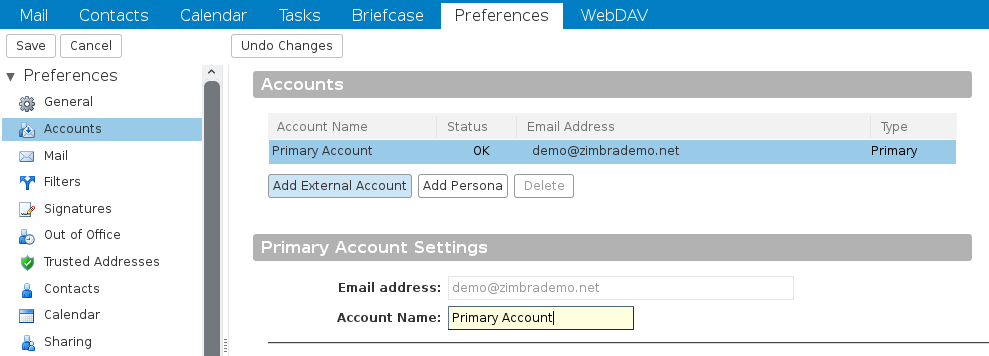
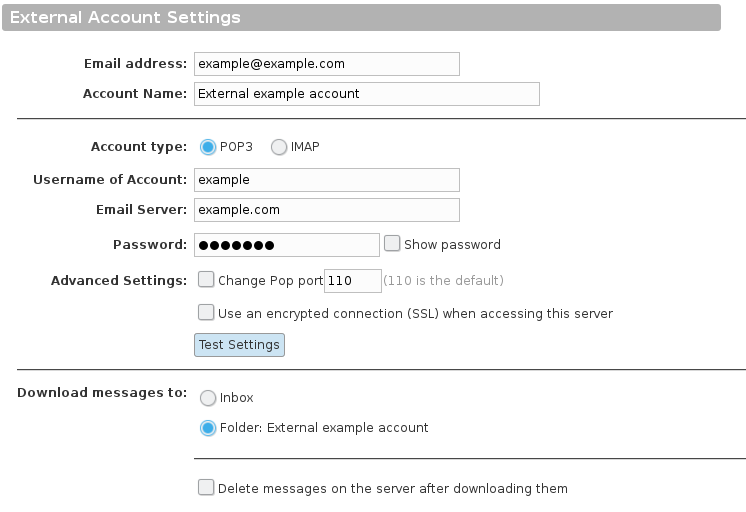
1. To be able to incorporate external accounts of the type IMAP or POP3 to Zimbra 8’s own web client, we will first go to Preferences in Accounts. Select the option Add External Account, which will display the configuration of this:

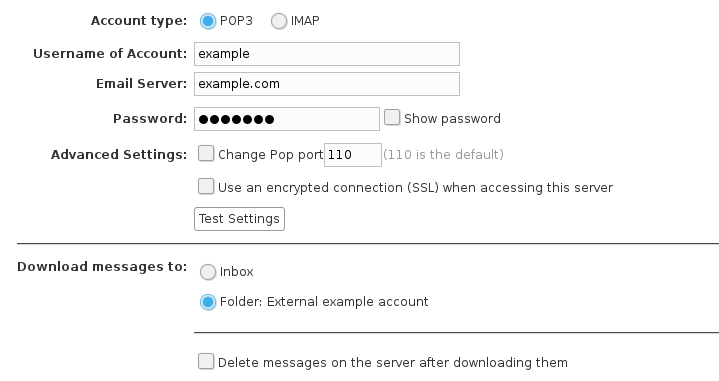
2. We will fill this configuration through the data provided by our POP3/IMAP mail provider. When finished, we will press Test Settings, which will indicate with a window if all the data is correct. In case of an error, we will review the entered data.

NOTE:
- For POP3, we must indicate in Download messages to: if we want the messages to go directly to the Inbox of our Zimbra account, or if we want a new folder to be created to download the emails independently, Folder: …:

- For IMAP, it will not be possible to download in the Zimbra Inbox, it will always be created after our tray hierarchy, another tray (with the trays that contains our external IMAP account) where all the content that has been displayed will be synchronized.

