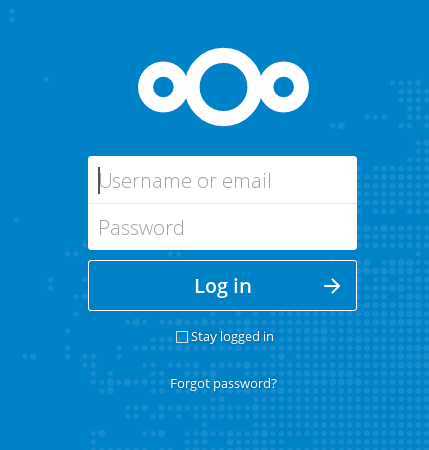
We can connect to our Nextcloud server using any web browser. We simply need to enter our Nextcloud server and log in with our username and password. The compatible web browsers are Mozilla Firefox, Google Chrome/Chromium, Safari, Internet explorer and Microsoft Edge.
Navigating through the main user interface:
By default, when you open Nextcloud we will appear on the main file page. Here we can add, delete and share files and also, make changes based on the access privileges established by us (if we are administering the server) or by our server administrator.
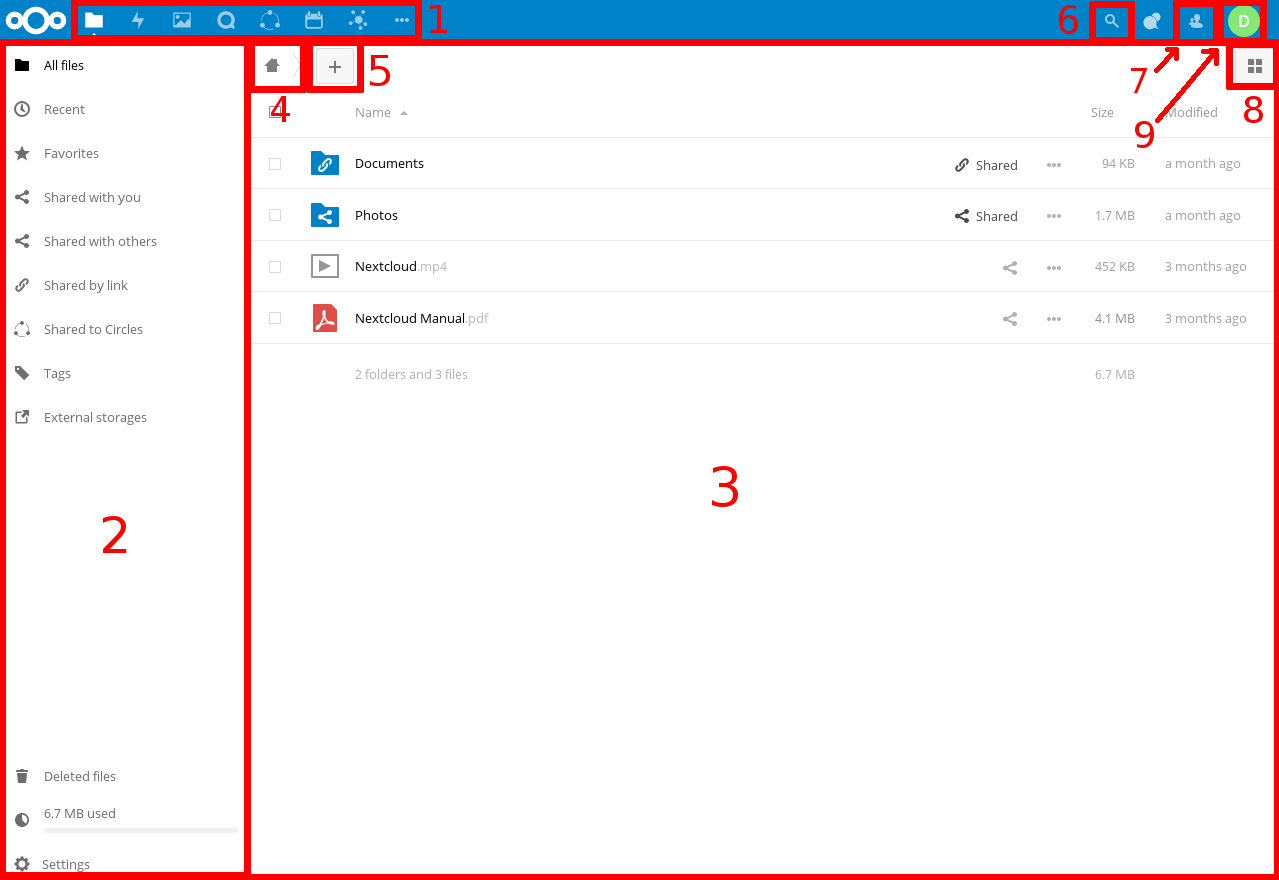
The Nextcloud interface contains the following fields and functions:
- Application selection menu (1): We will find here all the applications available in our Nextcloud. To access them we will press its icon.
- Application information field (2): Provides filters and tasks associated with the selected application. For example, when you use File applications, you have a special set of filters to quickly find your files, such as files that have been shared with you, and files that you have shared with others. You will see different elements for other applications.
- Application view (3): Shows the contents or functions of the selected application.
- Navigation Bar (4): Allows you to migrate to higher levels of the folder hierarchy until start.
- Add (5): Allows you to create new files, new folders and upload files. The latter can be uploaded by directly dragging the file only in some browsers.
- Search bar (6): Search for files within our Nextcloud.
- Contacts (7): Provides a general description of the contacts and users of our server. Depending on the details and applications, we can directly initiate a video call with them or send emails.
- Gallery (8). It will redirect us to the Gallery of images of our Nextcloud.
- Personal configuration menu (9): Allows you to adjust various personal parameters, manage users, go to Nextcloud support and log out.


