1. To configure our IMAP mail in Android we will go to the menu of our Smartphone, looking for the Settings icon (commonly represented with a nut).

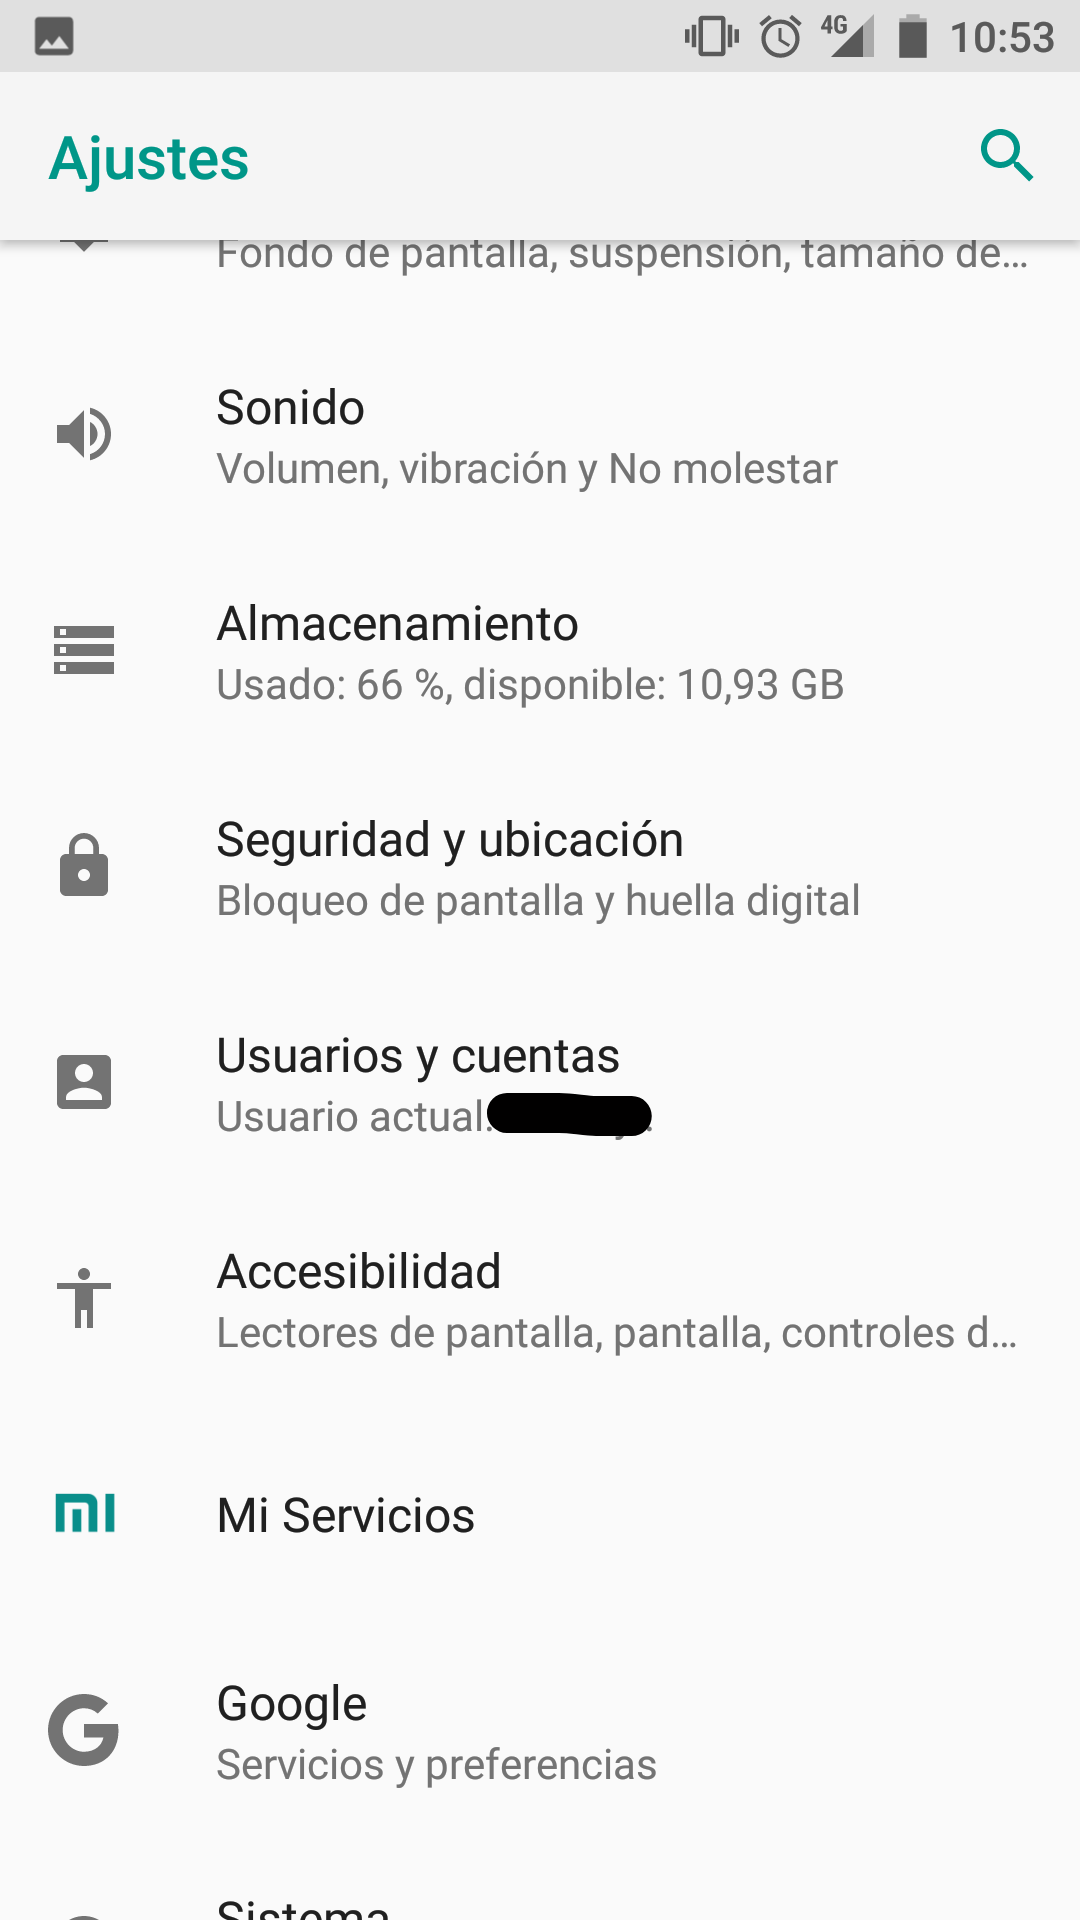
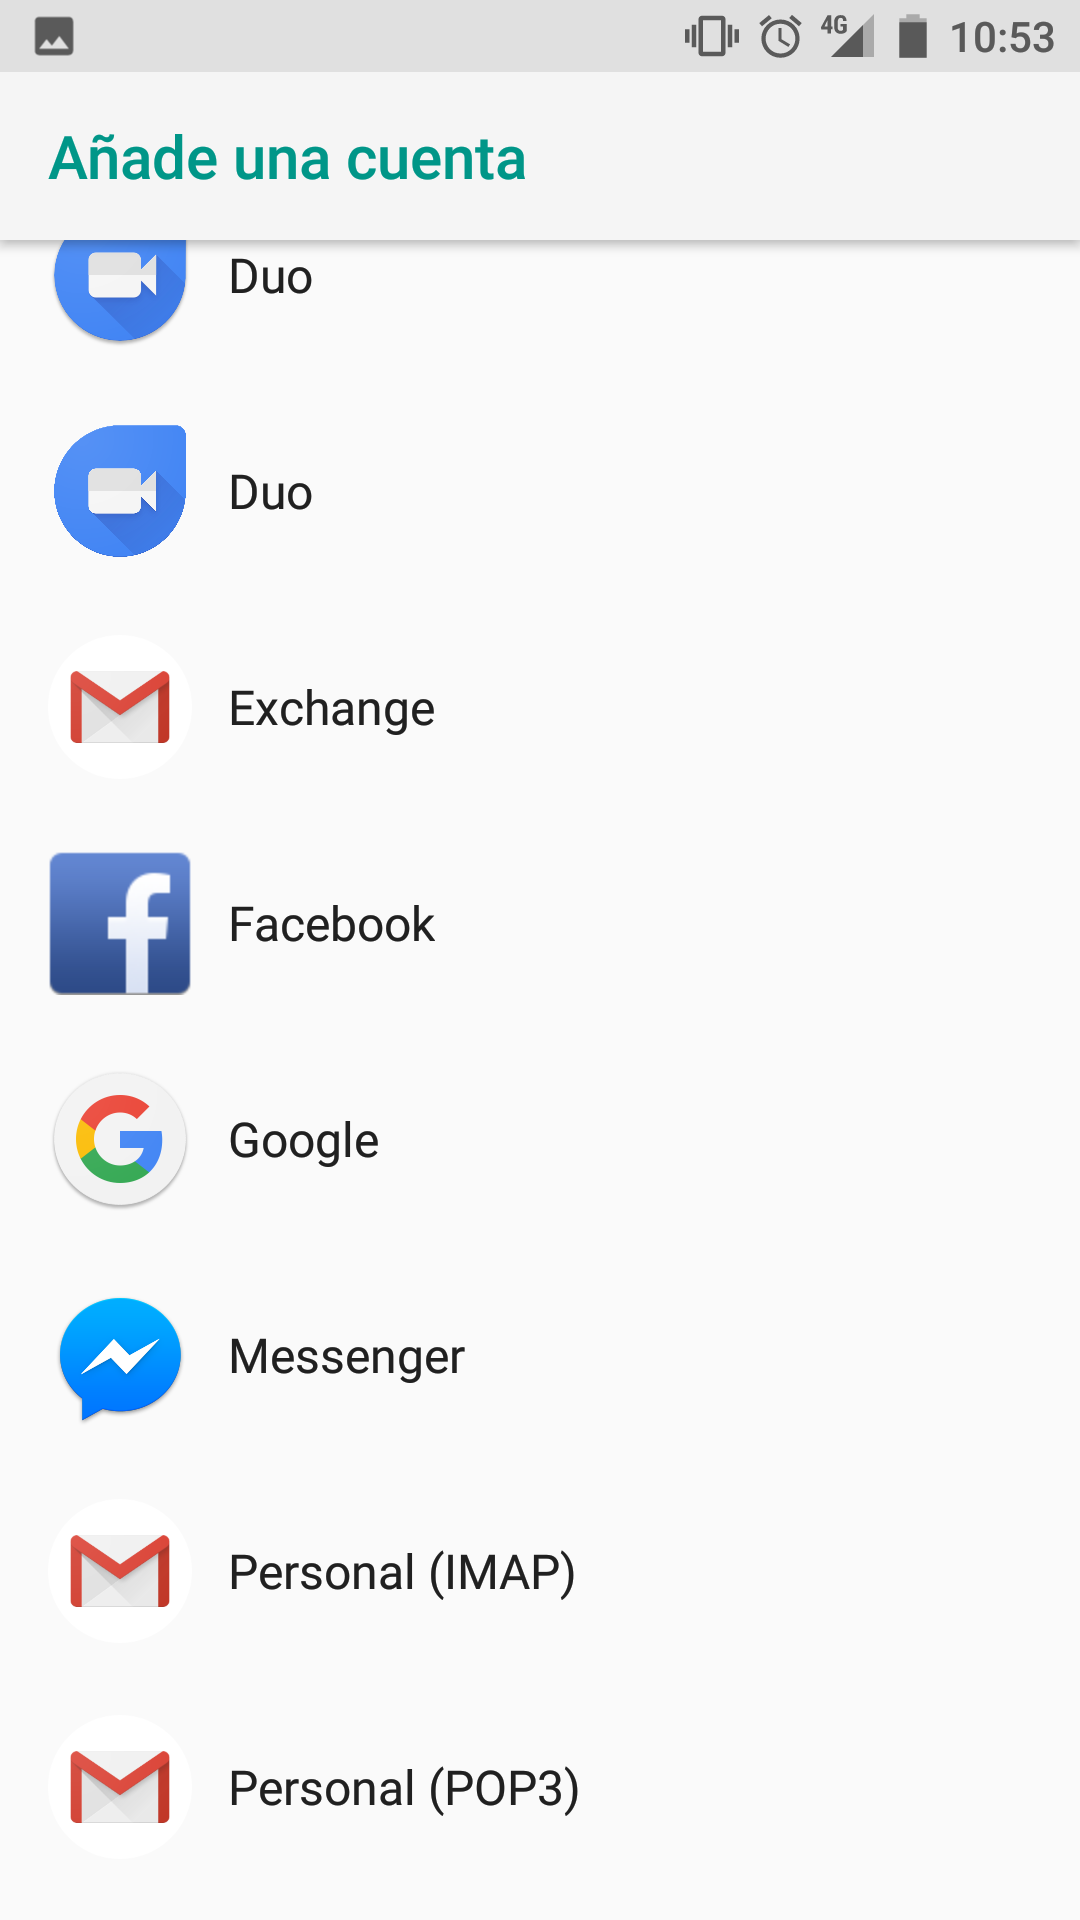
2. Next we will go into Settings and look for the Users and accounts section (the names of the menus may vary depending on the Android version). We will press in this menu, and we will look for the option of Add account. Here we will select Personal (IMAP).
 |
 |
 |
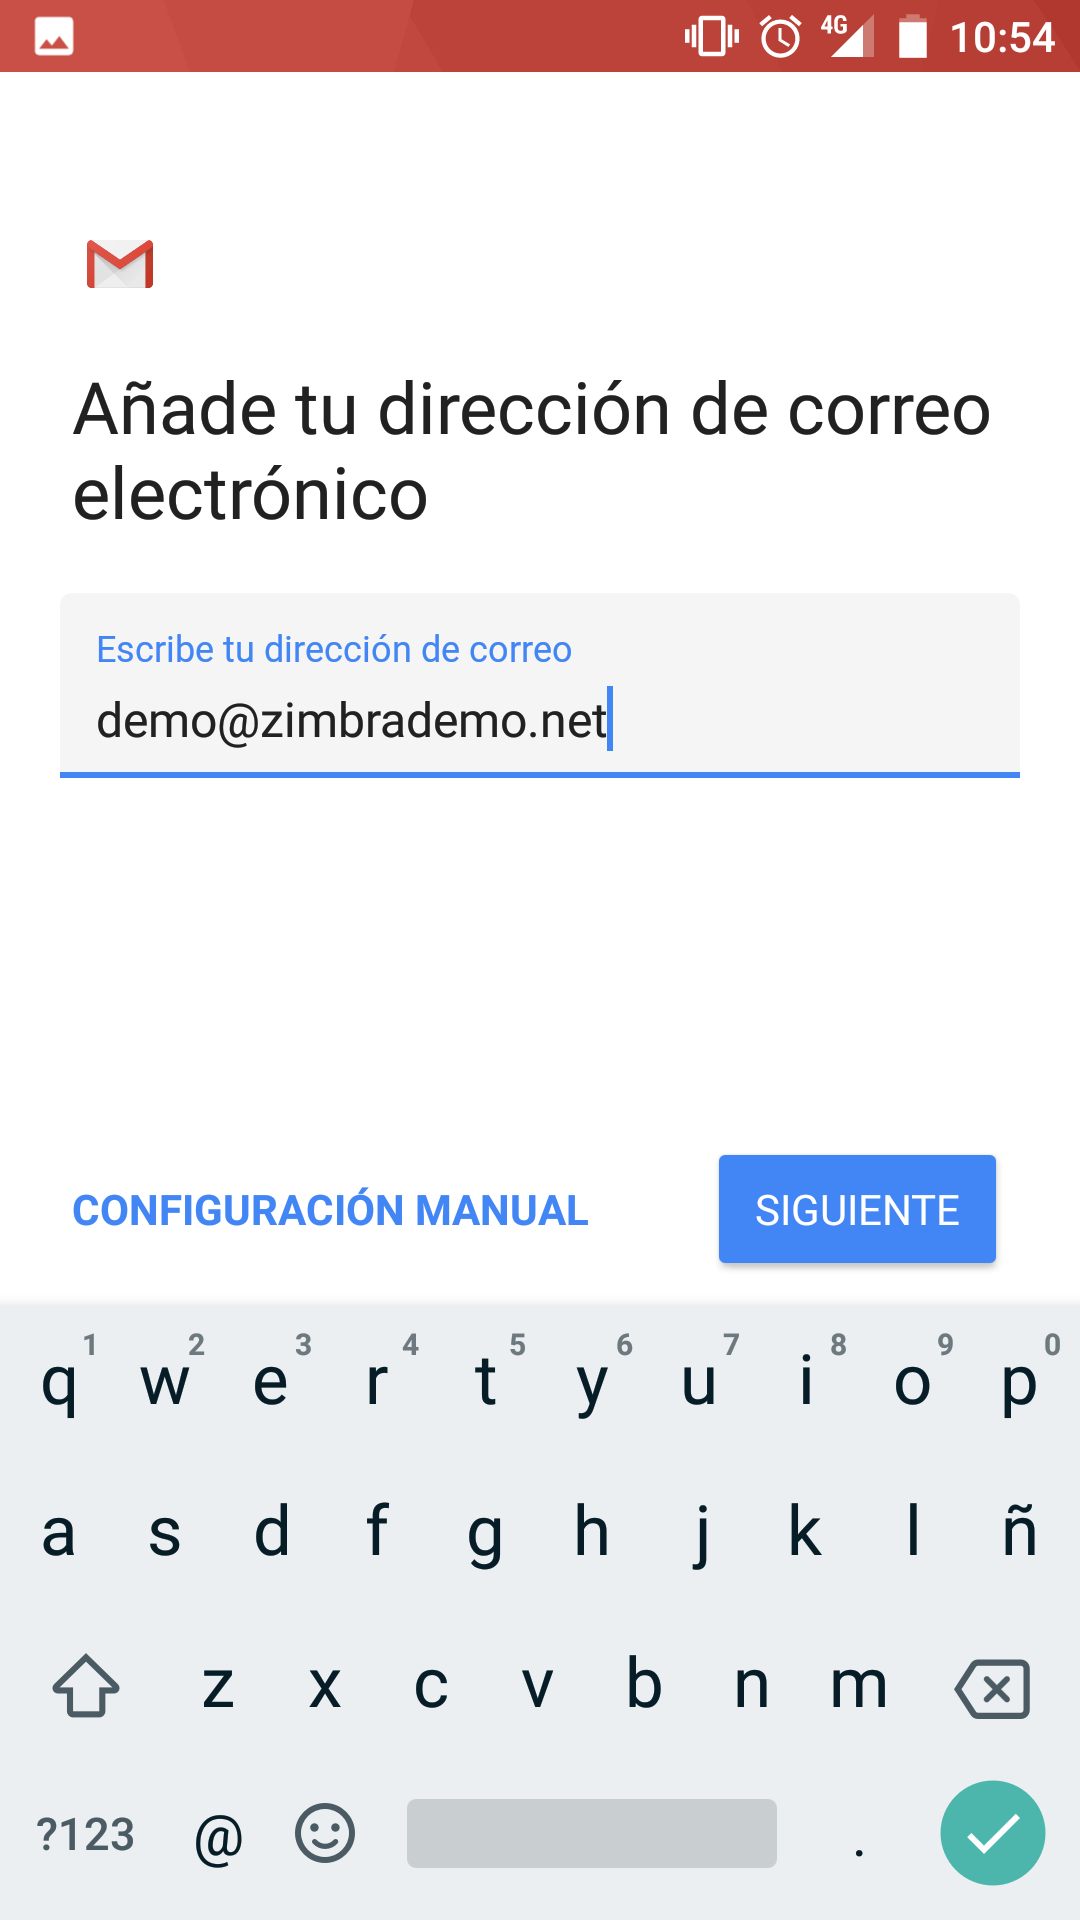
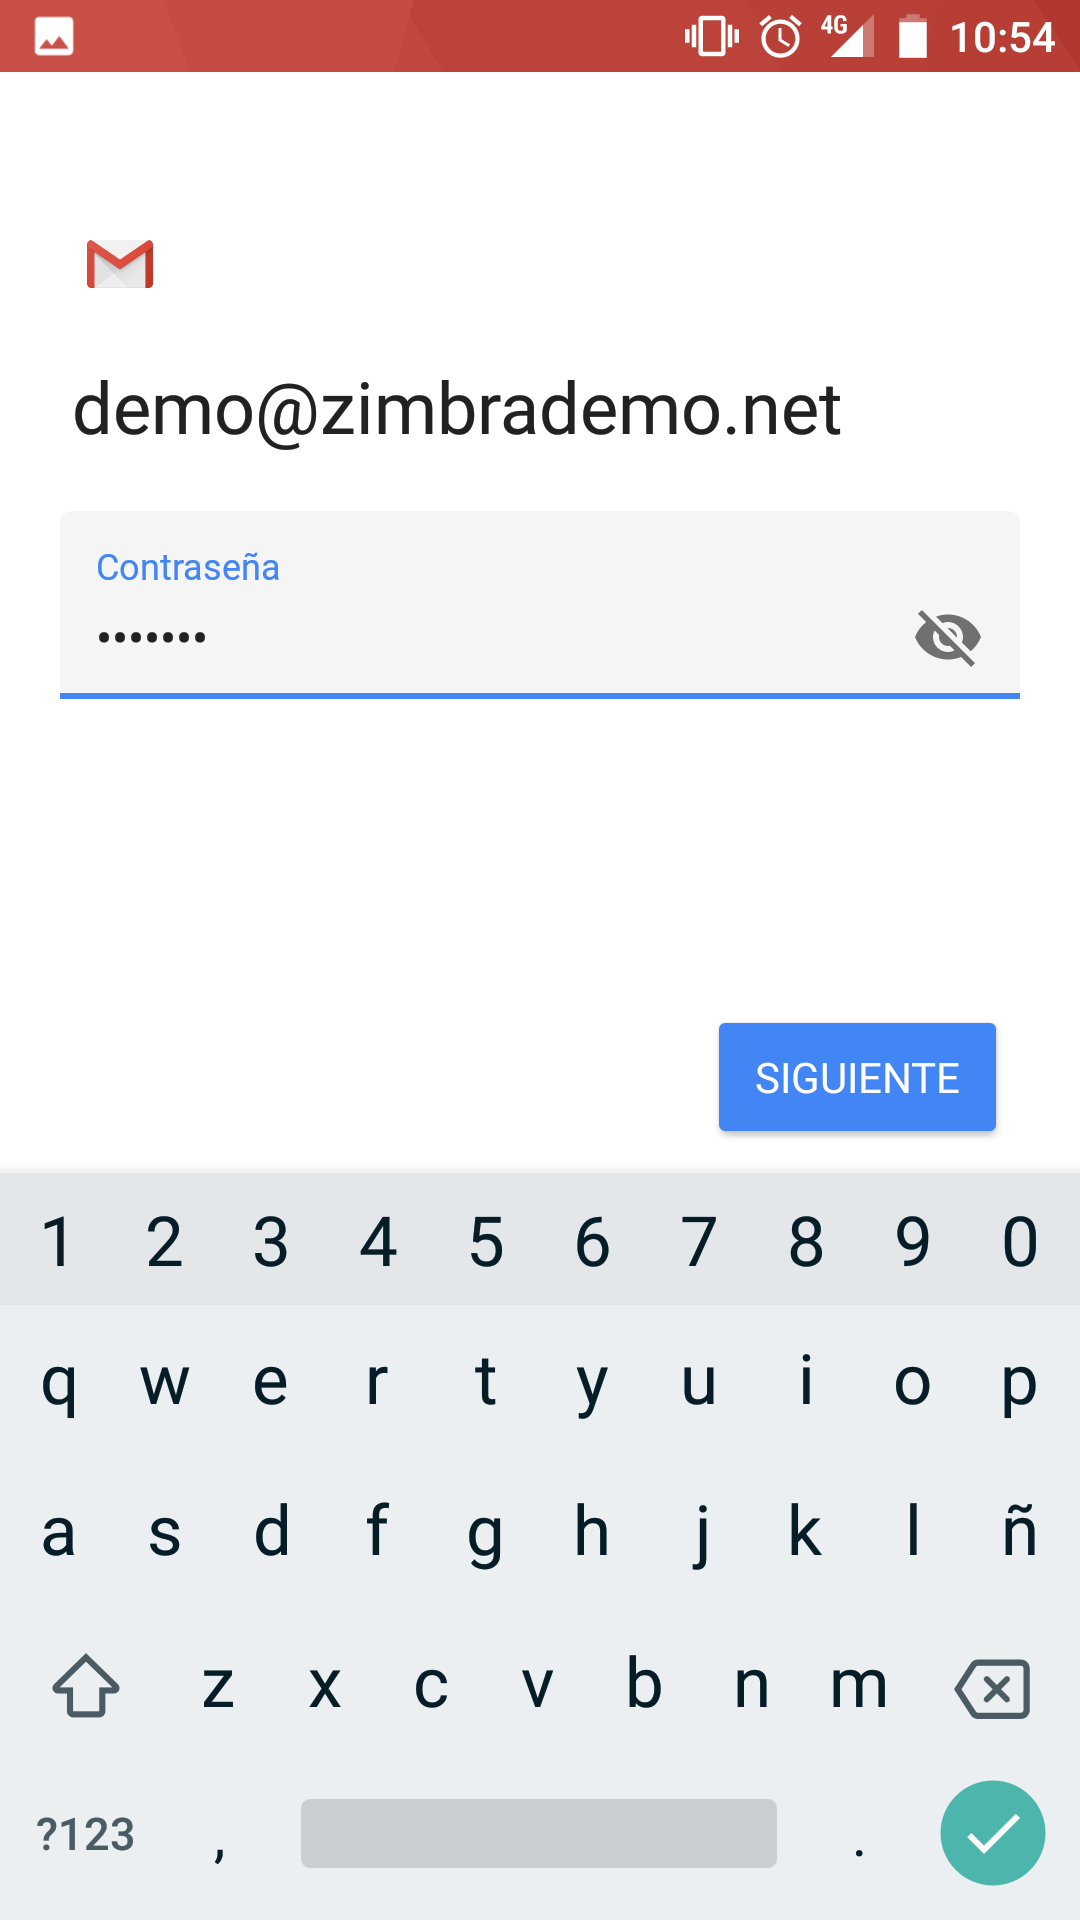
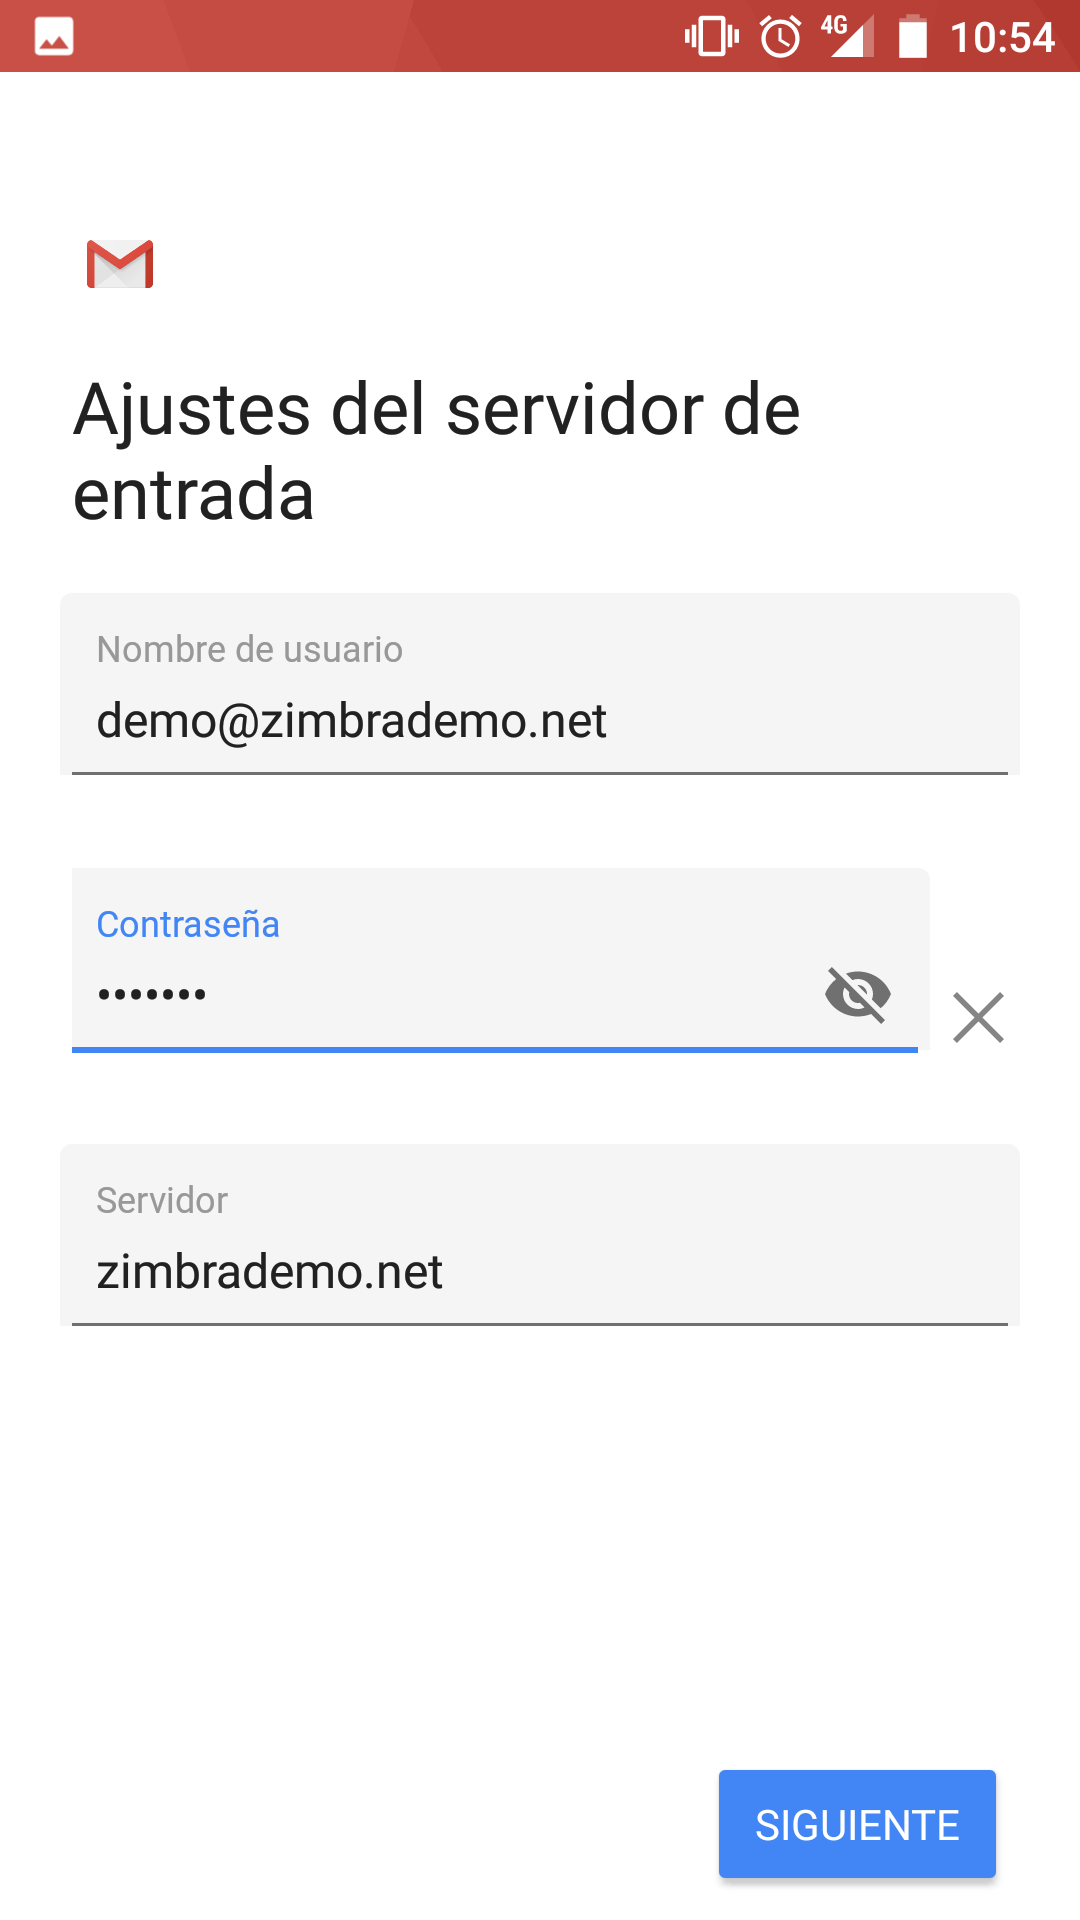
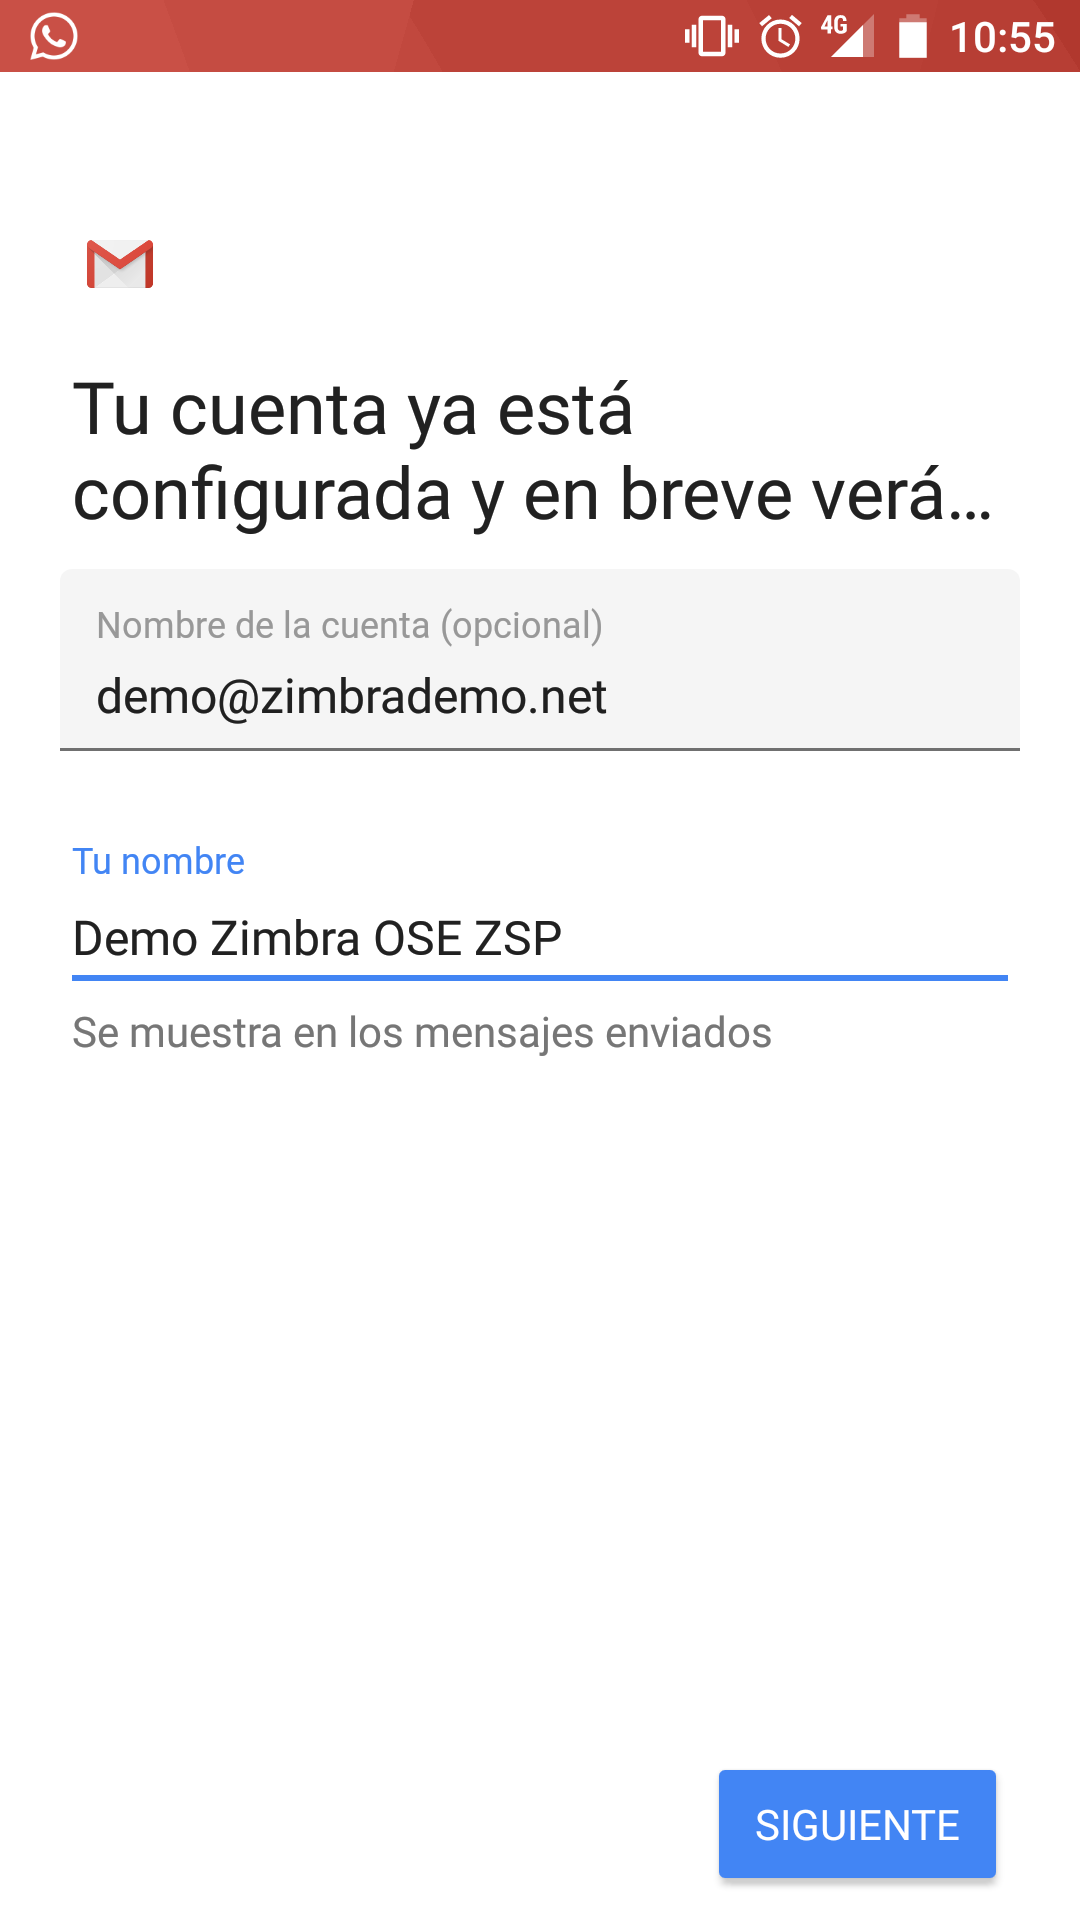
3. Once the option has been clicked, a series of screens will appear where we will have to enter the information of our account. First the email address. Second, the password. In third place the server (it will be predefined, although if your provider gives you a different one, it is necessary to change it). Fourth, we will give our account a name and finish with the process.
 |
 |
 |
 |
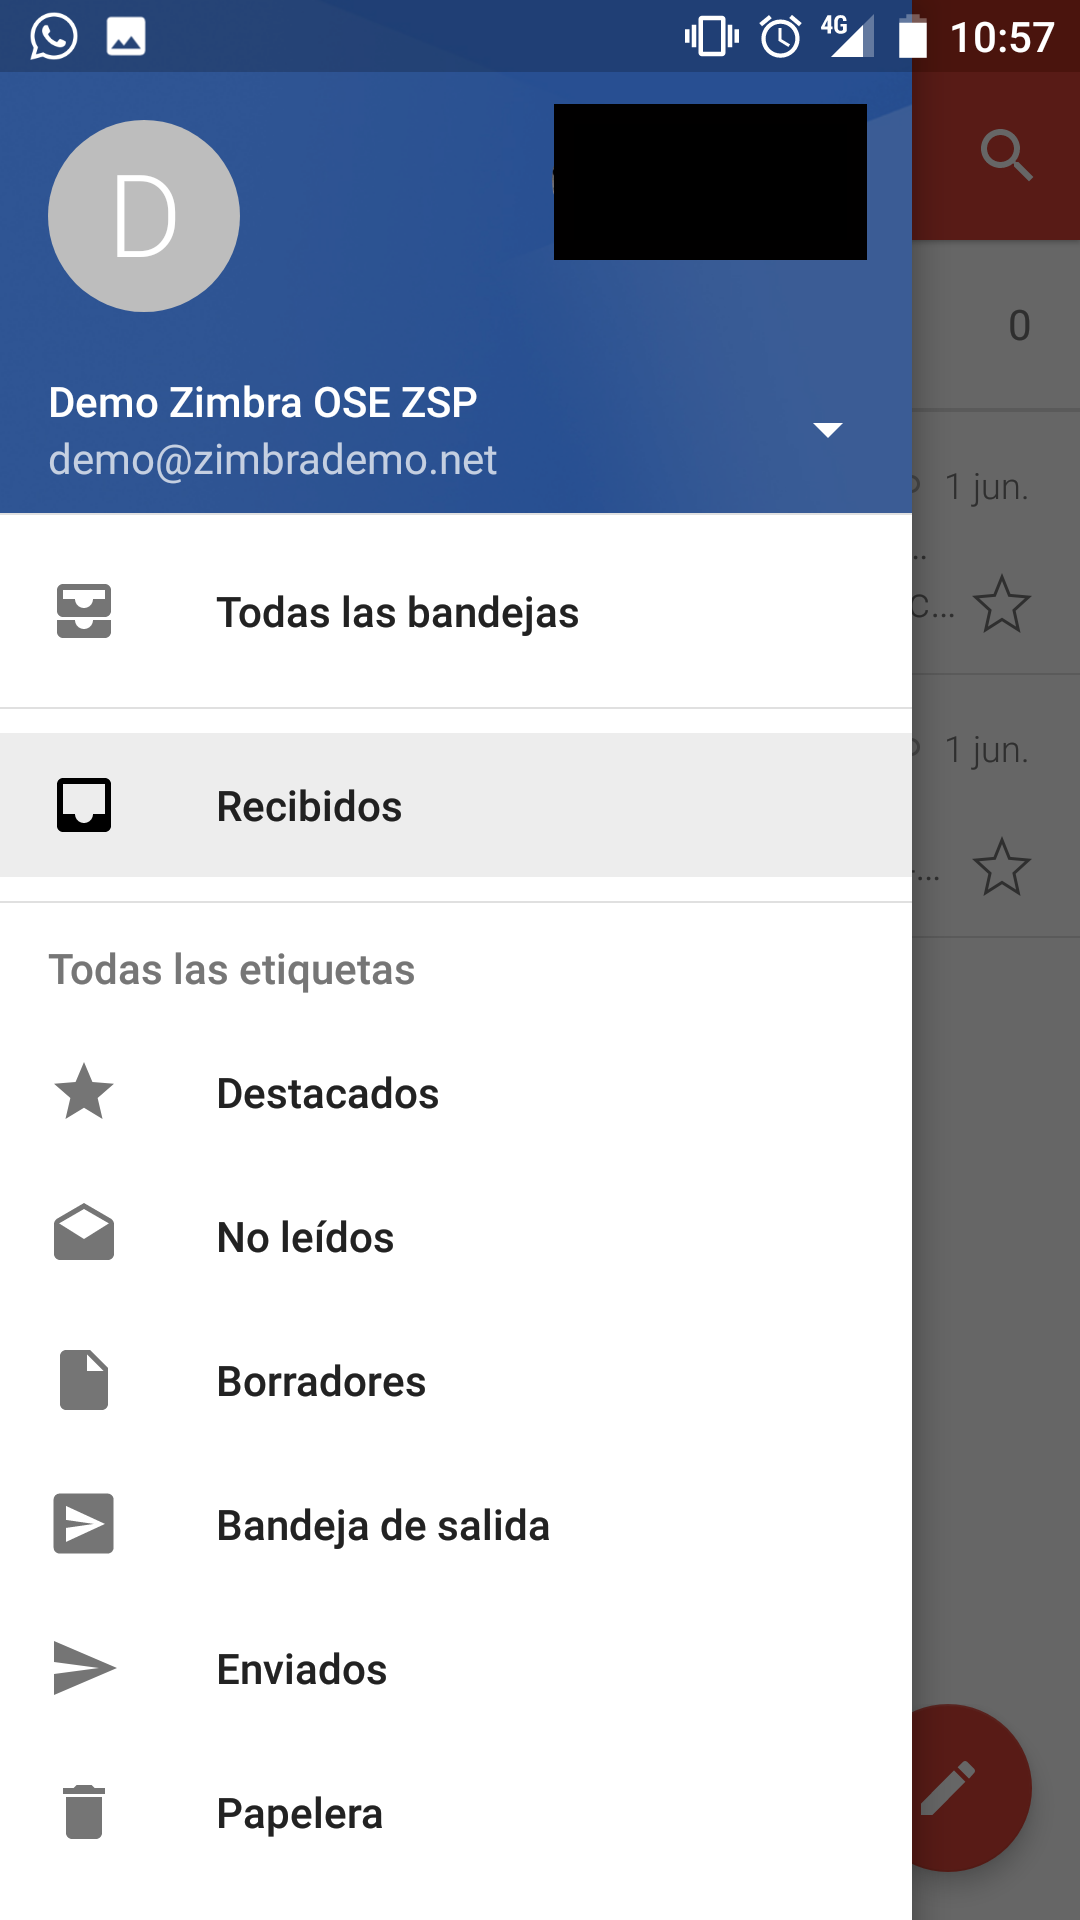
4. Finally, we can open our default email application, in which we will see our new account added.
